SPRINGBOOT
[SPRINGBOOT] 롬복
킴크스
2022. 4. 5. 22:10
참조 : 스프링부트와 AWS로 혼자 구현하는 웹 서비스(이동욱 저)
1. 롬복 소개 및 설치
자바를 개발할 때 자주 사용하는 Getter, Setter, 기본생성자, toString 등을 어노테이션으로 자동 생성해준다.
build.gradle에 코드를 추가하여 롬복을 설치할 수 있다.
gradle 7 버전을 사용하고 있기 때문에 인터넷을 참조하였다.
(dependencies안에 추가한다.)
implementation('org.projectlombok:lombok')
testImplementation('org.projectlombok:lombok')
annotationProcessor('org.projectlombok:lombok')
testAnnotationProcessor('org.projectlombok:lombok')
gradle 새로고침 이후에는 settins > Build > Compiler > Annotation Processors 에서
Enable annotation processing에 체크를 해준다.

2. 롬복으로 전환하기
web 패키지 밑에 Dto 패키지를 생성한 후 DTO를 만들어준다.
package com.study.crystal.test.web.dto;

import lombok.Getter;
import lombok.RequiredArgsConstructor;

@Getter // 선언된 모든 필드의 get 메소드를 생성해준다.
@RequiredArgsConstructor // 선언된 모든 final 필드가 포함된 생성자를 생성해준다.(final이 없으면 생성자 생성X)
public class HelloResponseDto {
    private final String name;
    private final int amount;
}
해당 dto에 대한 테스트 코드를 작성한다.
package com.study.crystal.test.web.dto;
import org.junit.Test;
import static org.assertj.core.api.Assertions.assertThat;
public class HelloResponseDtoTest {
@Test
public 롬복_기능_테스트(){
//given
String name = "test";
int amount = 1000;
//when
HelloResponseDto dto = new HelloResponseDto(name, amount);
//then
//assertThat을 통해 검증하고 싶은 대상을 메소드 인자로 받는다.
assertThat(dto.getName()).isEqualTo(name);
assertThat(dto.getAmount()).isEqualTo(amount);
}
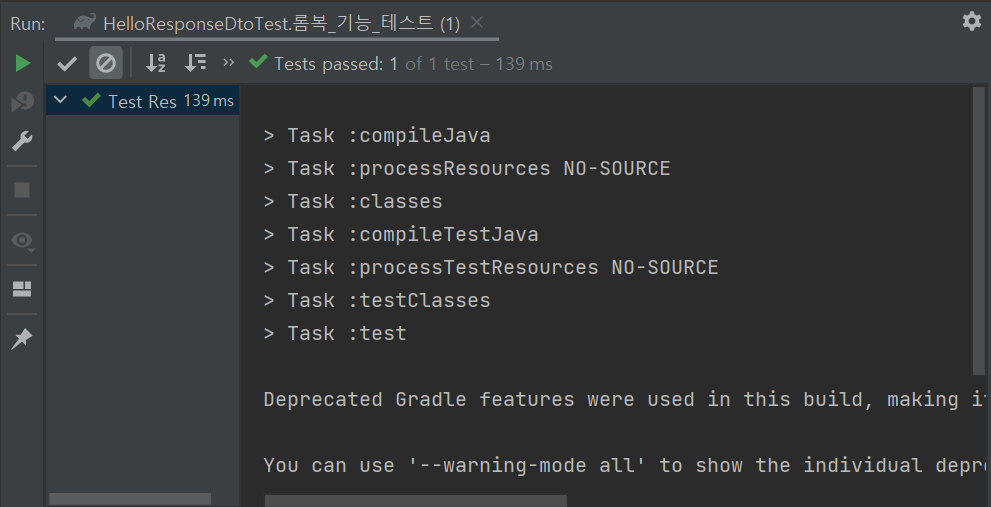
}메소드를 실행하면 테스트 코드 검증에 성공한다.
즉, 롬복의 기능이 정상적으로 작동한다는 의미이다.
이제 Controller에서도 Dto를 사용할 수 있도록 코드를 추가해준다.
package com.study.crystal.test.web;

import com.study.crystal.test.web.dto.HelloResponseDto;
import org.springframework.web.bind.annotation.GetMapping;
import org.springframework.web.bind.annotation.RequestParam;
import org.springframework.web.bind.annotation.RestController;

@RestController
public class HelloController {
    @GetMapping("/hello")
    public String hello(){
        return "hello";
    }

    @GetMapping("/hello/dto")
    public HelloResponseDto helloDto(@RequestParam("name") String name,
                                     @RequestParam("amount") int amount){
        return new HelloResponseDto(name, amount);
    }
}
name과 amount는 API를 호출하는 곳에서 보내는 값들이므로 이 API를 테스트할 코드를 테스트 코드로 작성한다.
package com.study.crystal.test.web;

import org.junit.Test;
import org.junit.runner.RunWith;
import org.springframework.beans.factory.annotation.Autowired;
import org.springframework.boot.test.autoconfigure.web.servlet.WebMvcTest;
import org.springframework.test.context.junit4.SpringRunner;
import org.springframework.test.web.servlet.MockMvc;


import static org.springframework.test.web.servlet.request.MockMvcRequestBuilders.get;
import static org.springframework.test.web.servlet.result.MockMvcResultMatchers.content;
import static org.springframework.test.web.servlet.result.MockMvcResultMatchers.status;
import static org.springframework.test.web.servlet.result.MockMvcResultMatchers.jsonPath;
import static org.hamcrest.Matchers.is;

@RunWith(SpringRunner.class)
@WebMvcTest(controllers = HelloController.class)
public class HelloControllerTest {
    @Autowired
    private MockMvc mvc;

    @Test
    public void hello가_리턴된다() throws Exception {
        String hello = "hello";

        mvc.perform(get("/hello")).andExpect(status().isOk()).andExpect(content().string(hello));
    }

    @Test
    public void helloDto가_리턴된다() throws Exception {
        String name = "hello";
        int amount = 1000;

        mvc.perform(
                get("/hello/dto")
                        .param("name", name) //요청 파라미터 설정
                        .param("amount", String.valueOf(amount))) //숫자나 날짜 등을 모두 문자열로 변경해주어야 한다.
                .andExpect(status().isOk())
                //json의 응답값을 필드별로 검증
                // $ 를 기준으로 필드명 명시
                .andExpect(jsonPath("$.name", is(name)))
                .andExpect(jsonPath("$.amount", is(amount)));
    }
}
테스트 코드를 실행하면 검증에 성공하는 것을 알 수 있다.
JSON이 리턴되는 API가 정상적으로 기능하는 것이다.
